AK (Russian: Автомат Калашникова, English: Avtomat Kalasnikova) DB is a simple relational database management
system developed by professor Markus Schatten of Faculty of Organization and Informatics in Varaždin, Croatia.
It is also regularly developed, maintained and fixed by graduate students attending 'Physical Database Modeling'
course every spring.
The development started in 2009 and is still ongoing, as building a custom DBMS is not an easy task. Most of it
is written in C, with some Python for Server stuff and documentation which is generated automatically and can be
viewed in HTML or LaTeX form. More on that in Installation and Build pages.
Where can I find it?
The AKDB System can be found at GitHub, it is maintained there for the last couple of years. Before Github, AKDB System was maintained on Sourceforge.
It is also important to mention that the system is currently in ALPHA development and is NOT fully
functional!
Originally built for Unix based operating systems, AKDB has a pretty straightforward installation on these
systems. To get your AKDB going you need to simply clone the repository and install dependencies, but first you
need to install prerequisites:
sudo apt-get install git build-essential swig make doxygen
To get Kalasnikov DB you can download .zip file from GitHub on your machine or you can clone it into a directory
you've positioned yourself in by using Git command:
git clone https://github.com/mschatten/akdb
You can then change the directory to get into the structure:
cd akdb/akdb/
Nevermind the multiple akdb directories, it was probably just a bug during migration to GitHub. In the end you
should end up in the root directory of the system.
Next thing you do is install dependencies (Python 2.7), if you don't have them already:
sudo apt-get install python2.7
You can also set up a virtual environment for the system. To do that, install virtualenv via pip and
run
virtualenv -p /usr/bin/python2.7 venv
into your project folder. You can do this with any Python interpreter of your choice.
To use it, this environment needs to be activated with source venv/bin/activate and deactivated
with command deactivate.
Mac
[UNTESTED] Everything from the Linux
instructions should work. Please let us know on GitHub if it doesn't.
Windows
Windows 10 introduced Windows Subsystem for Linux (WSL) in 2016, which enables running instances of Linux
distributions on Windows. Running instances can use their file system (hosted on the Windows partition) or they
can access existing Windows files, that can make some things easier.
Enabling and configuring WSL
Prerequisites:
Windows 10 version 1703 (April 2018 update) or later (May 2019 update (1903) recommended, it has a lot
of console improvements, especially for WSL).
about 500MB of disk space
administrator rights (for installation)
Hover over images to to zoom in.
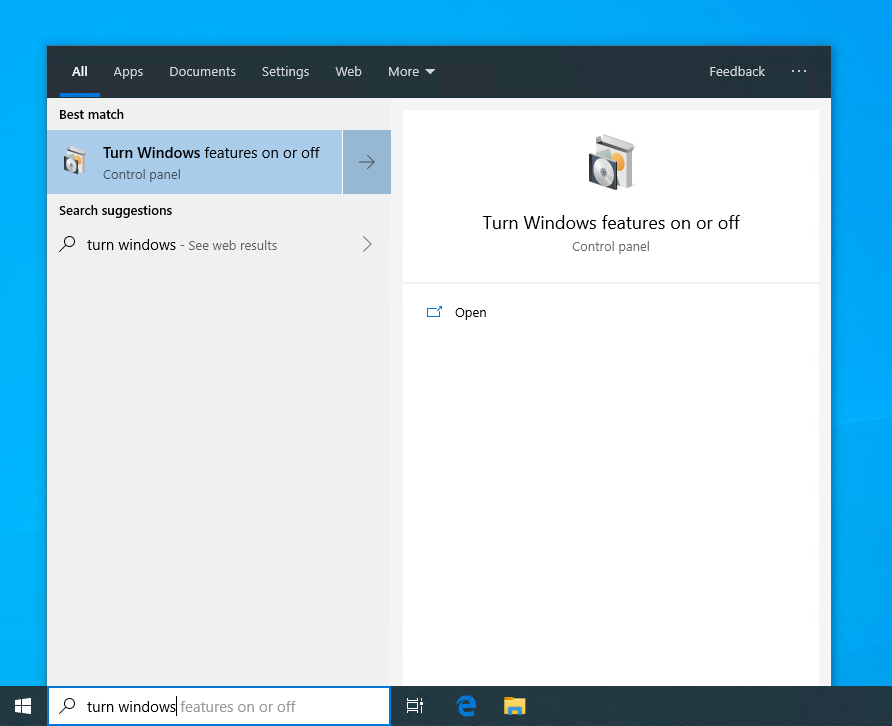
Step 1
Click on the
search button (or search box if it's enabled) or press the
Windows key and start typing.
Search for turn windows, you should see and click on Turn
Windows features on or
off.
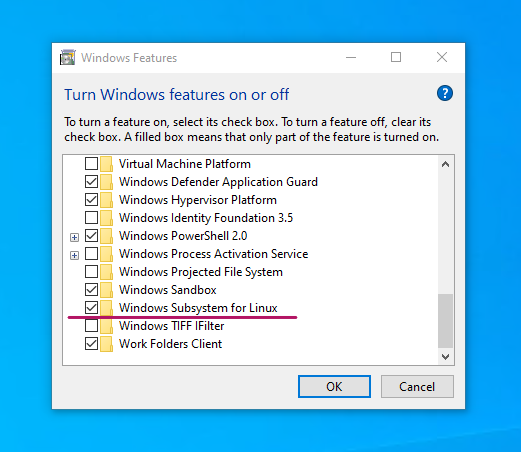
Step 2
In the list that appears scroll down until you find Windows Subsystem for Linux.
Check it and click OK.
Wait for the feature to be enabled and after it finishes restart your computer.
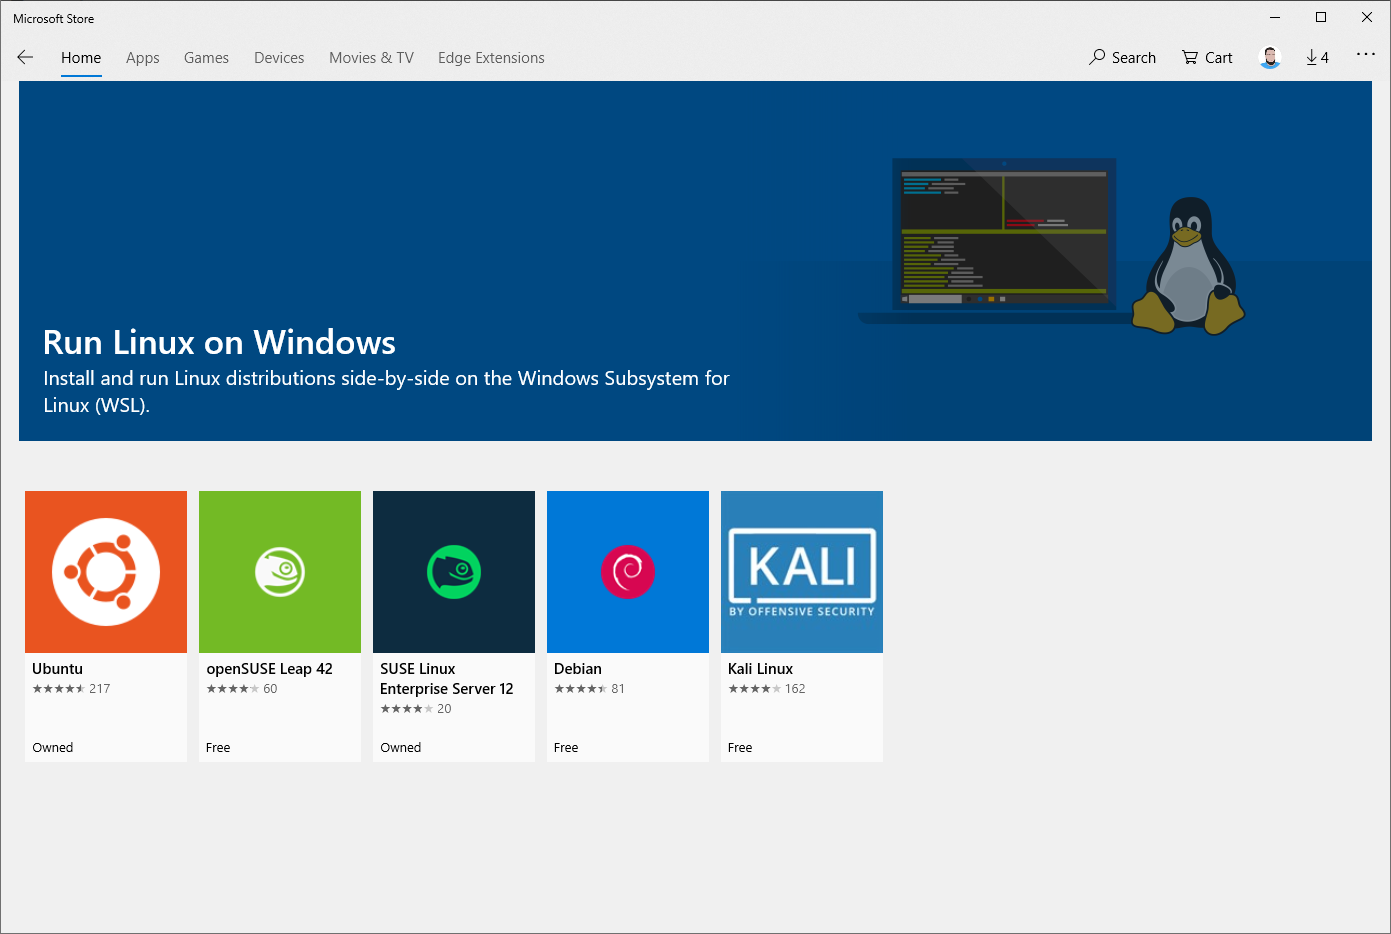
Step 3
Open the Microsoft Store app. In the search box type linux.
Select Run Linux on Windows.
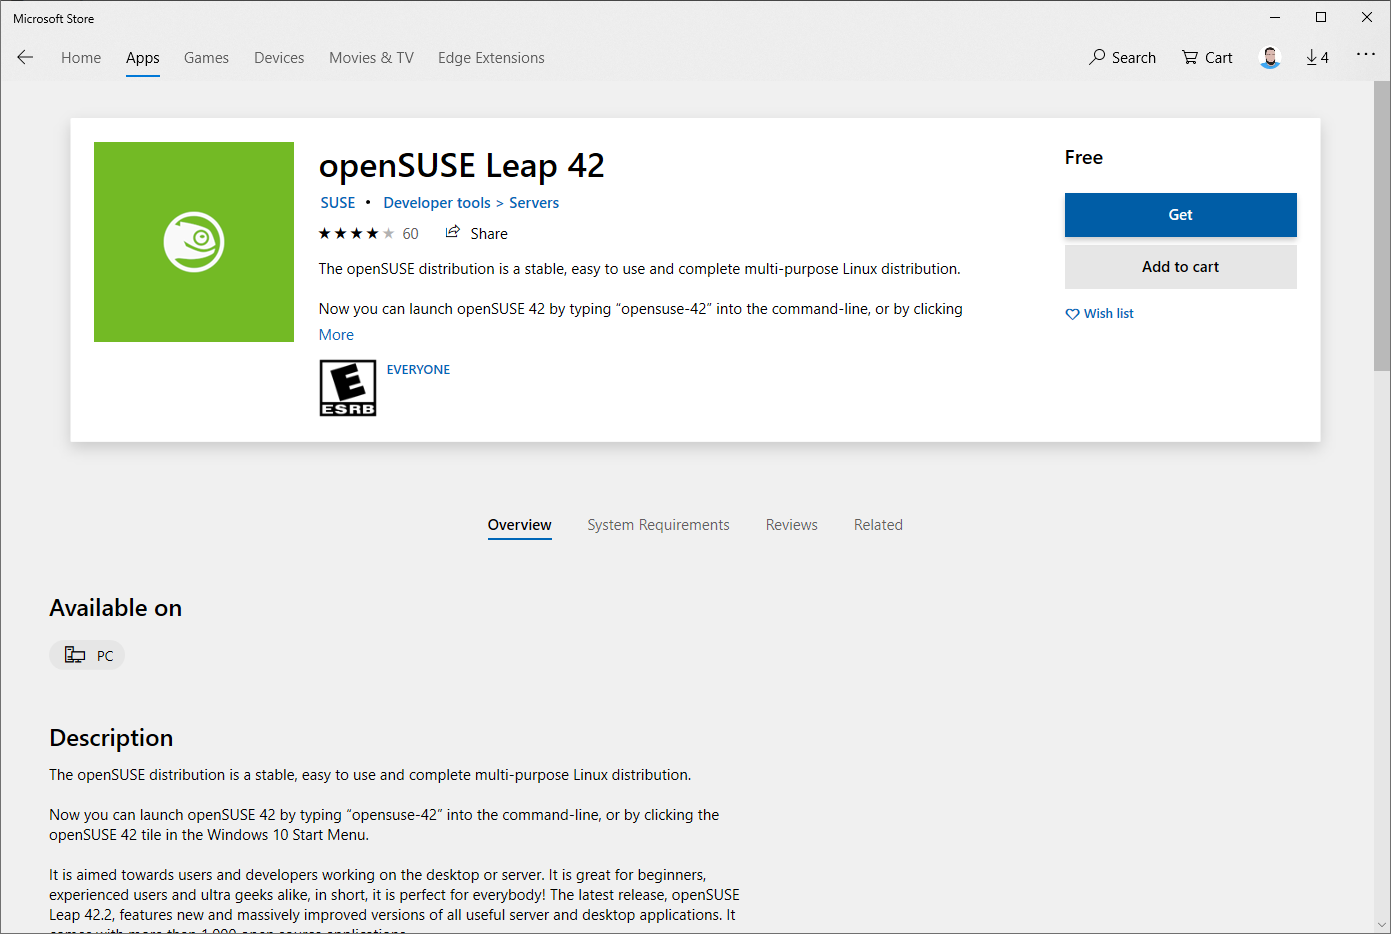
Pick a distribution and click Get. Wait for everything to install (download should be about
200-250MB).
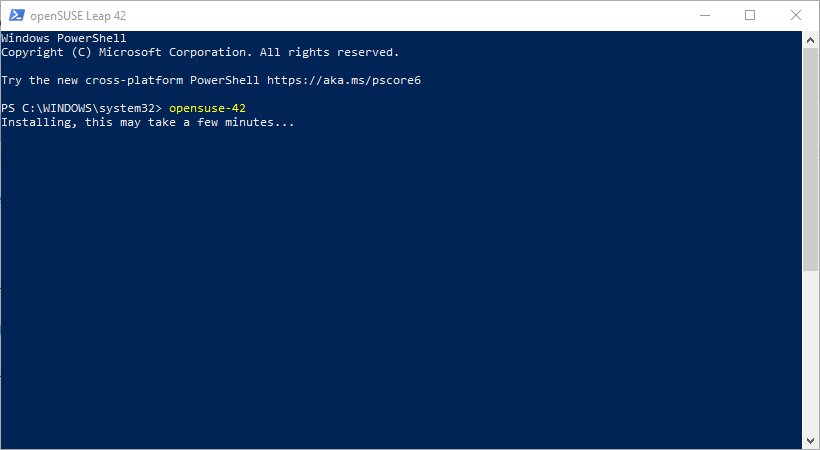
Step 4
Open PowerShell as an administrator. Easiest way is to right-click on the
Windows button in the bottom-left, and then clicking on Windows PowerShell (Admin).
Type in a command to initialize the WSL installation (depends on the distribution, check the Store
listing), eg. ubuntu for Ubuntu or opensuse-42
for openSUSE.
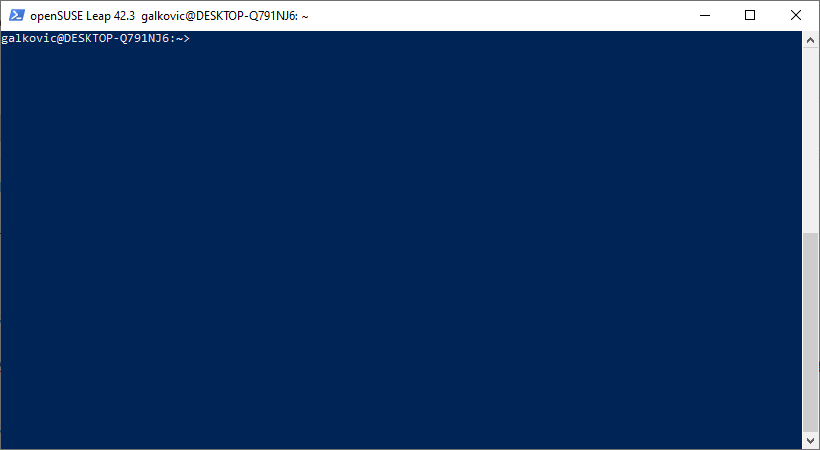
You can now run Linux on your Windows device! Hooray!
Step 5
Follow the guide for Linux.
You might need to install some dependencies like LaTeX for everything to work without warnings or
errors.
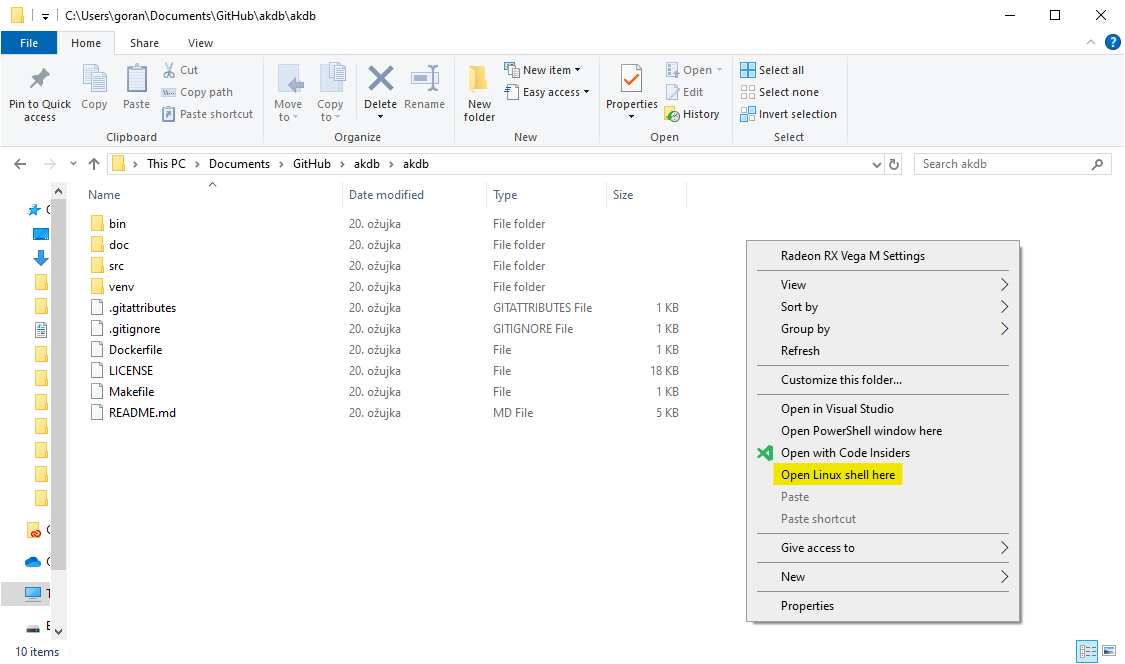
WSL tip
After you close the PowerShell window, you can bring back the Linux terminal by typing bash in the search bar, the Run dialog or by Shift-right
clicking in
File Explorer then clicking on Open Linux shell here, which will launch a bash shell with the
location set to the current folder.
Docker (Windows, Mac, Linux)
You can get a Docker image that enables you to run AKDB inside Docker container without the need for a Linux
virtual machine or WSL.
Requirements for this are Docker and Make, which you have to install on your local machine. All other
prerequisites will be downloaded and installed automatically.
You also need to install Docker container and this will take some time, but it allows you to develop the
application in your native environment and then compile and test its code inside the container. For building
AKDB in Docker container please visit Build section.
It is also required of Windows users to turn on drive sharing in Docker settings. To do that open Docker
settings, go to shared drives, check the drive on which AKDB is located and click Apply.
After you've installed everything system needs to run you can now build the application. To do this you need to
position yourself into the src directory and execute:
make make doc make swig
This will compile and build the application, along with creating documentation in Doxygen and connecting C with
Python using SWIG. To view documentation go to the doc directory and open
a PDF document called refman.pdf.
To run AKDB position yourself into the bin directory and execute:
./akdb
This will initialize disk manager and prepare all tests. To see additional commands type:
./akdb help
You can see other currently available options are testing options, and will be explained in the testing section.
If you want to clean the project of files generated during compiling run this:
make clean make clean-d
To see if there are some leftover Croatian comments in the code:
make comments
As it was said before, the application is not yet functional, so this is currently used for developing and
testing purposes.
Docker
After you've installed Docker and Make you can start the Docker container with AKDB and its host directory will
be automatically mapped in the container directory. This means that all the changes you make on your machine are
automatically seen and saved inside the container.
For more information examine the Dockerfile in the root directory.
To install Docker execute command:
make docker-install
If you're running on Windows enter:
make docker-win
If you're running on Mac enter:
make docker-mac
All other commands for starting the application and performing tests are the same like in a native
environment.
Directories
AKDB system root directory consists of three folders and two files. Files contained within this directory are
LICENSE file (contains the GNU General Public Licence) and a README file which in short describes installation
and building of the application. Folders in the root directory and their purpose be explained next.
Binaries (bin)
Essential folder where the application compiles to and from where you can run it. It contains several files and
another folder called blobs where all binary files are stored after
running. The blob folder is created empty, and is created after the
application is installed and started for the first time. Files in the bin
folder are:
akdb the main executable for AKDB
config configuration file with the default settings
kalasnikov database file created when running for the first time
tests shell script for listing tests
Documentation (doc)
Documentation for AKDB is created using Doxygen. It's a tool that generates documentation from comments
in the source code.
The end result is a reference manual in PDF format. Doxygen can create this in HTML or LaTeX format.
In this folder there are two additional folders. The HTML folder contains
the HTML and JS elements used for creation of the web version of the manual while the LaTeX folder contains TeX elements for creating PDF and RTF manuals.
A lengthy AKDB reference manual in the PDF format called refman is
located in the doc folder. It's highly recommended that you study it if
you want to get a better insight into the system.
Source (src)
This folder containts the main source code for compiling and building the application. It has files required to
start building process and subfolders where the source code files are located.
Most of the source code files are written in C, expect Server and SWIG files which are written in Python and
shell scripts.
Files in source directory are:
build cleans installation directory and compiles the application
doxygen configuration file with settings for Doxygen
main source code that starts the application and its components
main.dandmain.o dictionary and object help files
Makefile configuration paramaters for application building
projectDetails header that contains application version number
Folder
Description
Auxiliary (auxi)
Debugger, Type converter, Constants, Dictionary, Parser, Memory Programmer, Observer, Test reporting
Disk manager (dm)
Source code for managing database and its objects on hard disk
Archive and redo log manager, Recovery tools for system crash, Database log in textual and binary form
Relational algebra (rel)
Operations that are used in queries and are essential for database functionality (aggregation,
difference, expression check, intersect, natural Join, product, projection, selection, theta join,
union)
SQL commands (sql)
Responsible for executing SQL commands (COMMAND, DROP, FUNCTION,
PRIVILEGES, SELECT, TRIGGER, VIEW,
BETWEEN, CHECK, CONSTRAINTS, NOT NULL, REFERENCE,
UNIQUE)
Server (sql)
Client and Server source code (running and configuration), SQL executor
SWIG (sql)
Wrapper files for integration of C with Python in SWIG tool (includes configuration and test)
Shell tools (tools)
Generation comments, file fetching, C and Pythin parsing, application updating
Transactions (trans)
Source code for performing transactions in the database
Testing
Since the project is still in development, tests are required to ensure its stability and functionality. There
are couple of dozen tests that check whether certain parts of the application work correctly.
After you've built the application, to run all tests simultaneously enter the command:
./akdb alltest
On first use DB file will be initialized. In case it hangs press 1 and Enter (don't ask why). It also is not
unusual for program to crash while running certain tests, because there are still some unfixed bugs that can
cause system failure, but most tests work.
To view what current tests are available, run the following:
./akdb test show
This will write out the list of current tests that can be performed.
As of 21st of March 2018 they are numbered and divided into few categories:
Auxiliary
1Trajan
2Observable
3Observable pattern
Disk manager
4Allocation bit
5Allocation table
6Thread safe block
File system
7ID
8LO
9Files ⎋
10File IO ⎋
11OP rename ⎋⁑
12File sorting
13File search
14Sequence
15OP table
Index
16Bitmap ⎋
17Binary tree ⎋
18Hash ⎋
Memory manager
19Memory manager
20Block memory
Optimization
21RE association
22RE commutation
23RE selection
24RE projection
25Query optimization
Relational operators
26Union
27Join ⎋
28Product
29Aggregation
30Intersection
31Selection
32Selection pattern
33Selection (redo)
34Check expression
35Difference
36Projection
37Theta join ⎋
SQL tests
38COMMAND
39JOIN
40VIEW
41NULL
42SELECT⎋
43Trigger ⎋
44UNIQUE⎋
45FUNCTION
46Privileges
47REFERENCE
48BETWEEN⎋
49CHECK
50Constraint names
Transactions
51Transaction ⎋
Recovery
52Recovery ∞
Note
⎋ Crashes the application
⁑ Performing this test twice in a row ruins the application
∞ Takes forever to perform and you have to kill the app
Show tests command won't enable you to perform those tests inside the application. For that, you need to use:
./akdb test
This will create the necessary test tables on which tests are run. To run a test enter a number of test you wish to run. If you want to run a particular test you can enter the following command in shell:
./akdb test [number]
This will automatically execute the entered test and exit the application.
Client and server tests
In order to start these test you must position yourself in the src/srv directory and execute test commands by shell.
Server test:
python server.py
Client test:
python akdb_cli.py
It is also recommended to read the README file in the src/srv directory to get a more detailed overview of these tests.
Known issues
Issues that are being worked on are listed on GitHub and are generally updated every year.
They are mostly in Croatian.
You can contact prof. Markus Schatten if you have any questions or want to volunteer for work on AKDB.